
How to use Power Automate to create recurring tasks in Planner

Microsoft Power Automate (earlier known as Microsoft Flow) allows you to automate repetitive manual tasks and paper processes via an easy to use drag-and-drop wizard.
Microsoft Power Automate can create workflows to sync data across apps and software, generate real-time notifications to alert stakeholders, update databases with new information and collect data from Power Apps or other data sources.
In this example we will teach you how to use Power Automate to create recurring tasks in Microsoft Planner.
For this example we imagine that we want to remind our finance department to check and send out a monthly invoice to the customer.
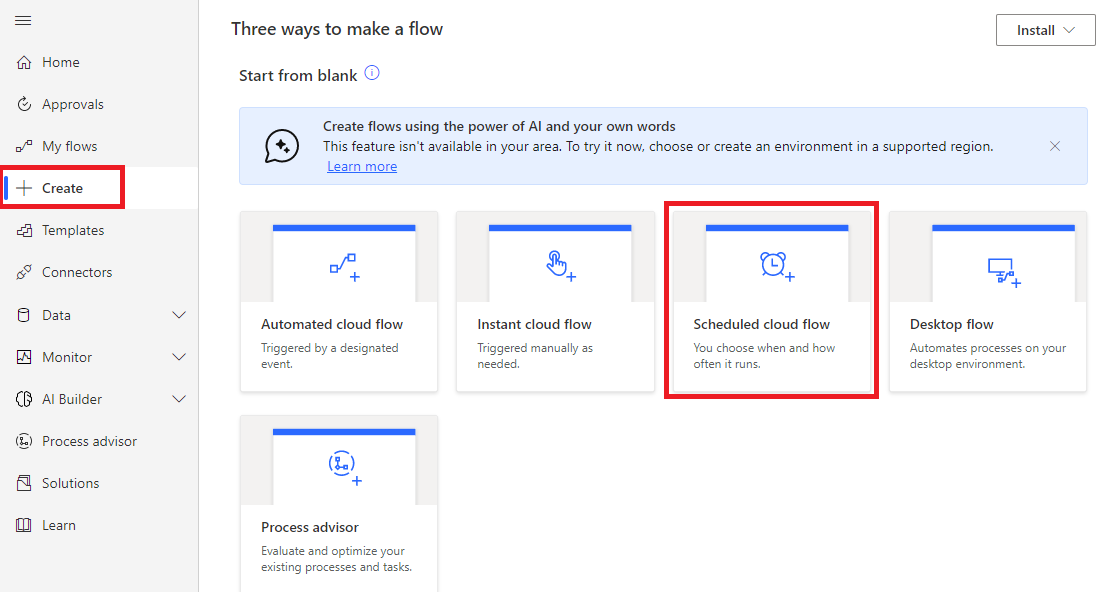
Step 1: Create new Power Automate Flow
Go to https://make.powerautomate.com/ and click on “Create”, and select “Scheduled Cloud Flow”
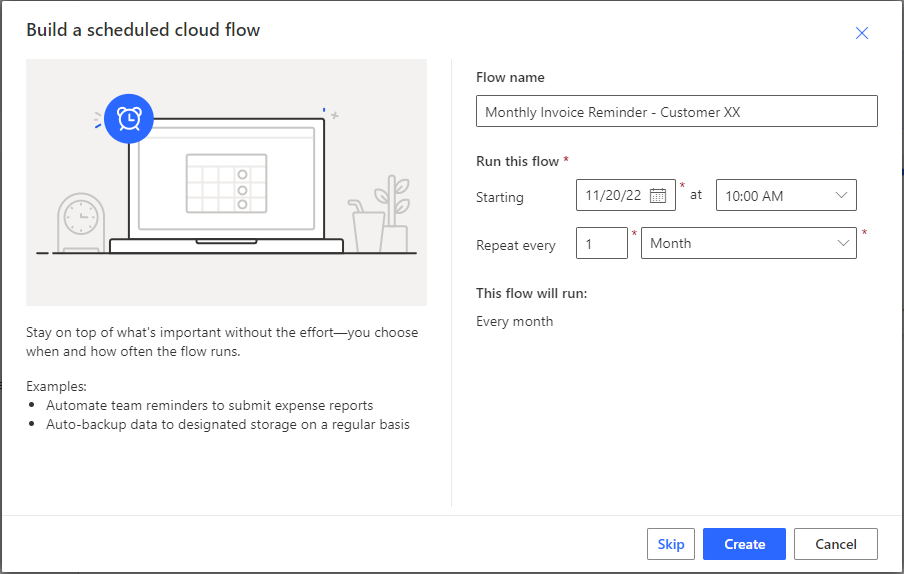
Step 2: Enter Flow Name and Set Schedule
Give the flow a name, and enter the schedule. In our example we want to have a monthly reminder, so we set the repeat time to every 1 month.
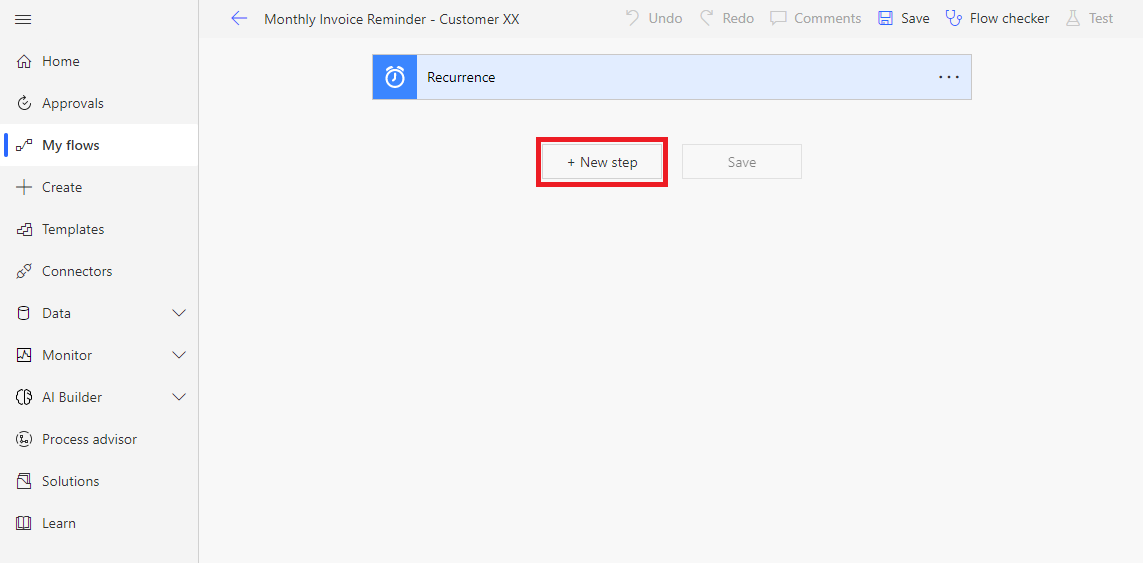
Now we can see the Flow editor screen, with our monthly recurring task as starting point. We click on new step:
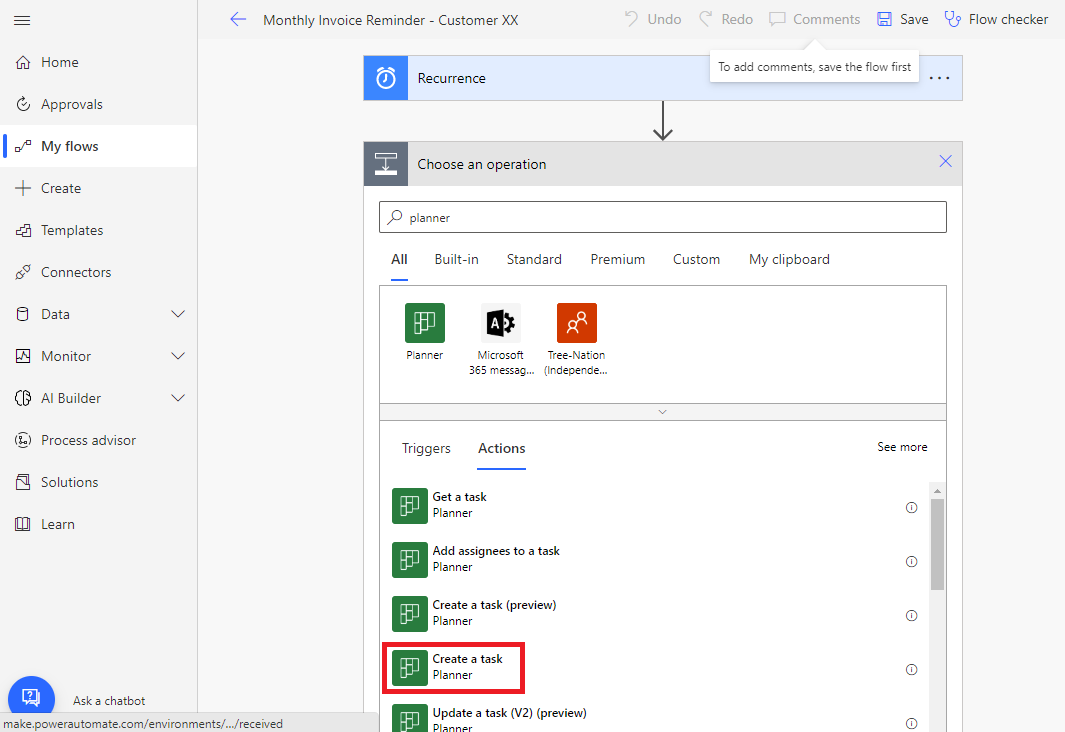
Step 3: Create New Task in Planner
We find Planner and select “Create a Task”
After that we select which Planner Plan the task need to be created, and we fill in the information that we want to show in the planner task.
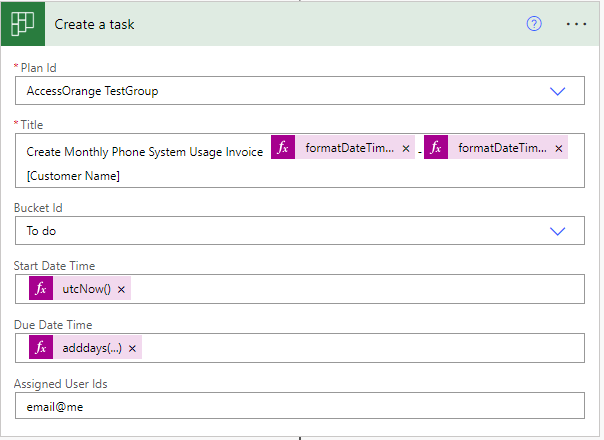
In our example we want to enter some dynamic fields, for the Start Date, Due Date and also to show a dynamic date and time in the Title.
For the Start Date we want today’s date, so we will have to fill in a Dynamic Expression:
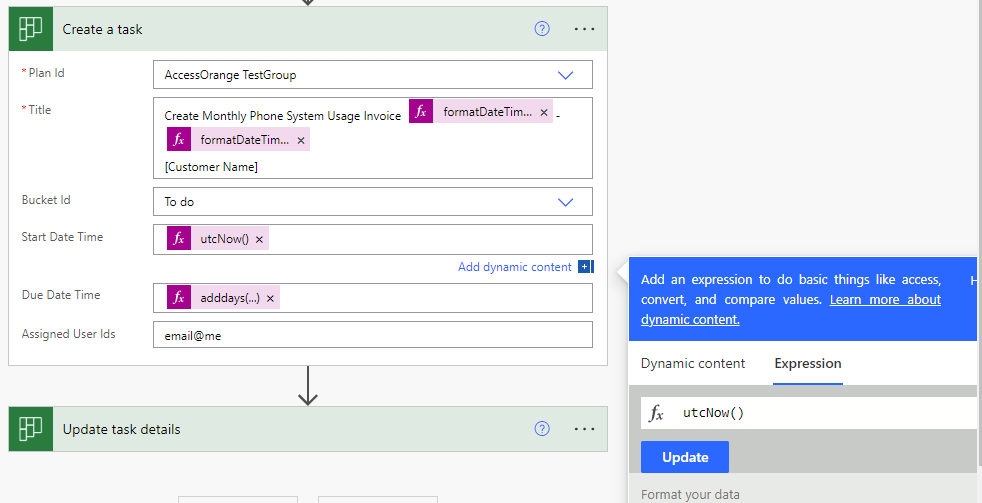
Expression:
utcNow()
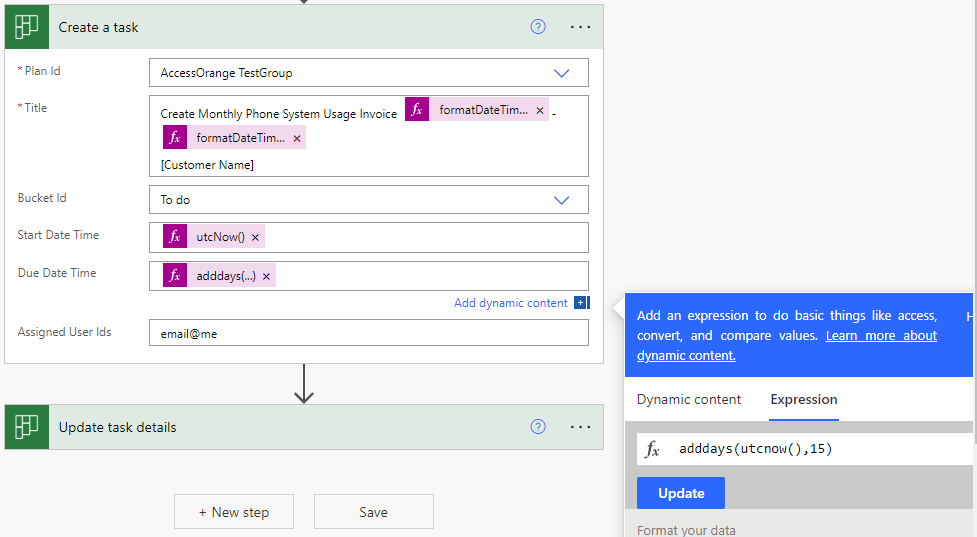
For the Due Date, we want to set it 15 days from today, hence we fill use the expression adddays() to add 15 days from today (utcnow()):
For the Title we also want to add the Due date, hence we will add the adddays function as well there:
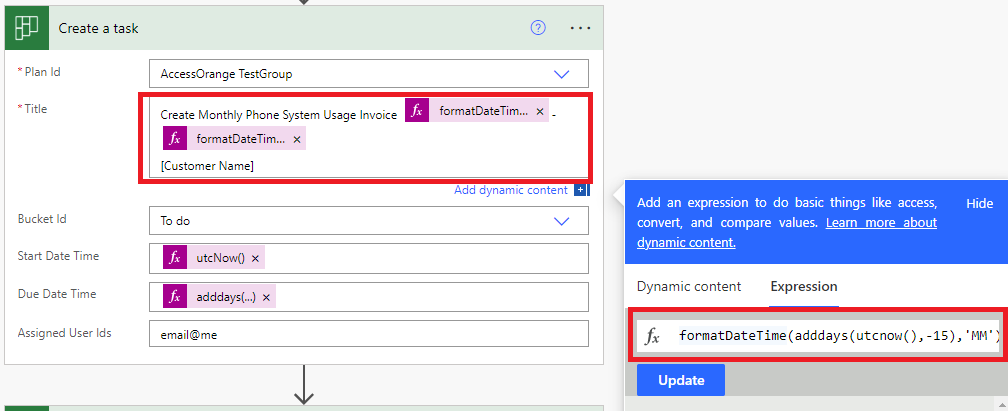
Expression 1:
formatDateTime(adddays(utcnow(),-15),'MM')
Expression 2:
formatDateTime(utcNow(),'yyyy')
Important: For Assigned User Id’s, fill in the email addresses of the users that you want to assign the task to.
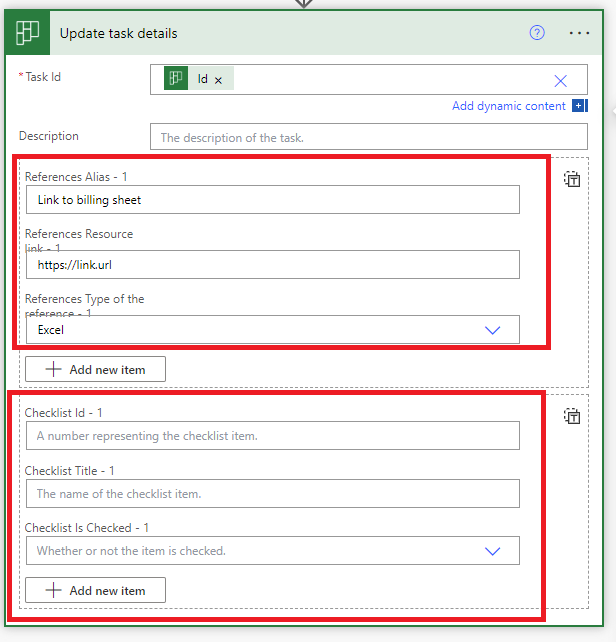
Step 4: Update Planner Task Details
Now we have created the main task, we can also update or add more details under the planner task details. For this we add one more flow called “Update task details””.
In this task, we need to refer to our original planner task ID.
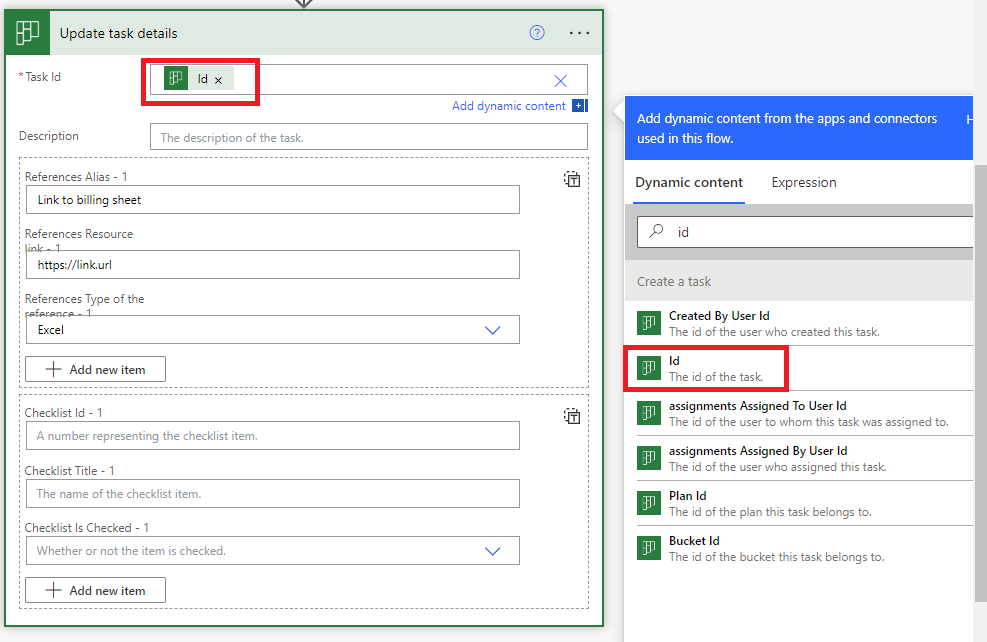
And after that we can add some more information. In our case we add a link to the billing sheet we want the finance department to use, which is an Excel file. But you Can also add a checklist here.
That’s it! Now our Flow is ready. We can save it, enable it and test it out. If everything runs smooth, your task will now appear in Microsoft Planner every month.
")
")


Leave a Reply
Want to join the discussion?Feel free to contribute!