
How to migrate files from on premises to sharepoint online
Migrating files from an on-premises file server to SharePoint Online can be a useful way to improve collaboration, access, and security for your organization. Here are some steps you can follow to migrate your files:
- Determine what needs to be migrated: The first step in any migration is to identify what needs to be migrated. This includes not only the files themselves, but also any metadata or other related information.
- Plan your migration: Once you know what needs to be migrated, you can start planning the details of the migration. This includes deciding on a timeline, identifying any potential issues or challenges, and determining the resources that will be needed.
- Prepare your files: Before you start the actual migration, you will need to make sure that your files are organized and ready to be moved. This includes verifying that all the files are in a consistent format, renaming any files that may cause issues, and cleaning up any outdated or unnecessary files.
- Choose a migration tool: There are several tools available that can help you migrate your files to SharePoint Online. Some options include Microsoft’s own SharePoint Migration Tool (see below), or third-party tools like CodeTwo. Choose a tool that meets your needs and budget.
- Migrate your files: Once you have chosen a migration tool, you can start the actual process of moving your files to SharePoint Online. This may involve uploading your files to the tool, configuring any necessary settings, and verifying that the migration was successful.
- Test and verify: After the migration is complete, it’s important to test and verify that all of your files have been transferred correctly and are accessible in SharePoint Online. This may involve checking individual files or groups of files, or running a comparison between the on-premises file server and the new SharePoint Online location.
- Clean up: Once you have verified that everything has been migrated correctly, you can begin the process of cleaning up your on-premises file server. This may include deleting any outdated or unnecessary files, archiving any files that are no longer needed, and making sure that the file server is organized and ready for the next phase of use.
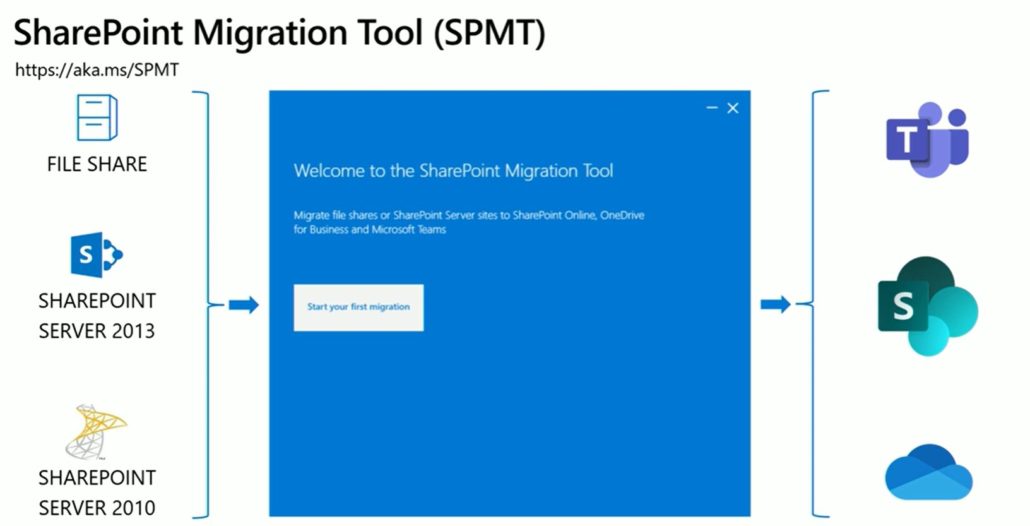
Using the Free Sharepoint Migration Tool
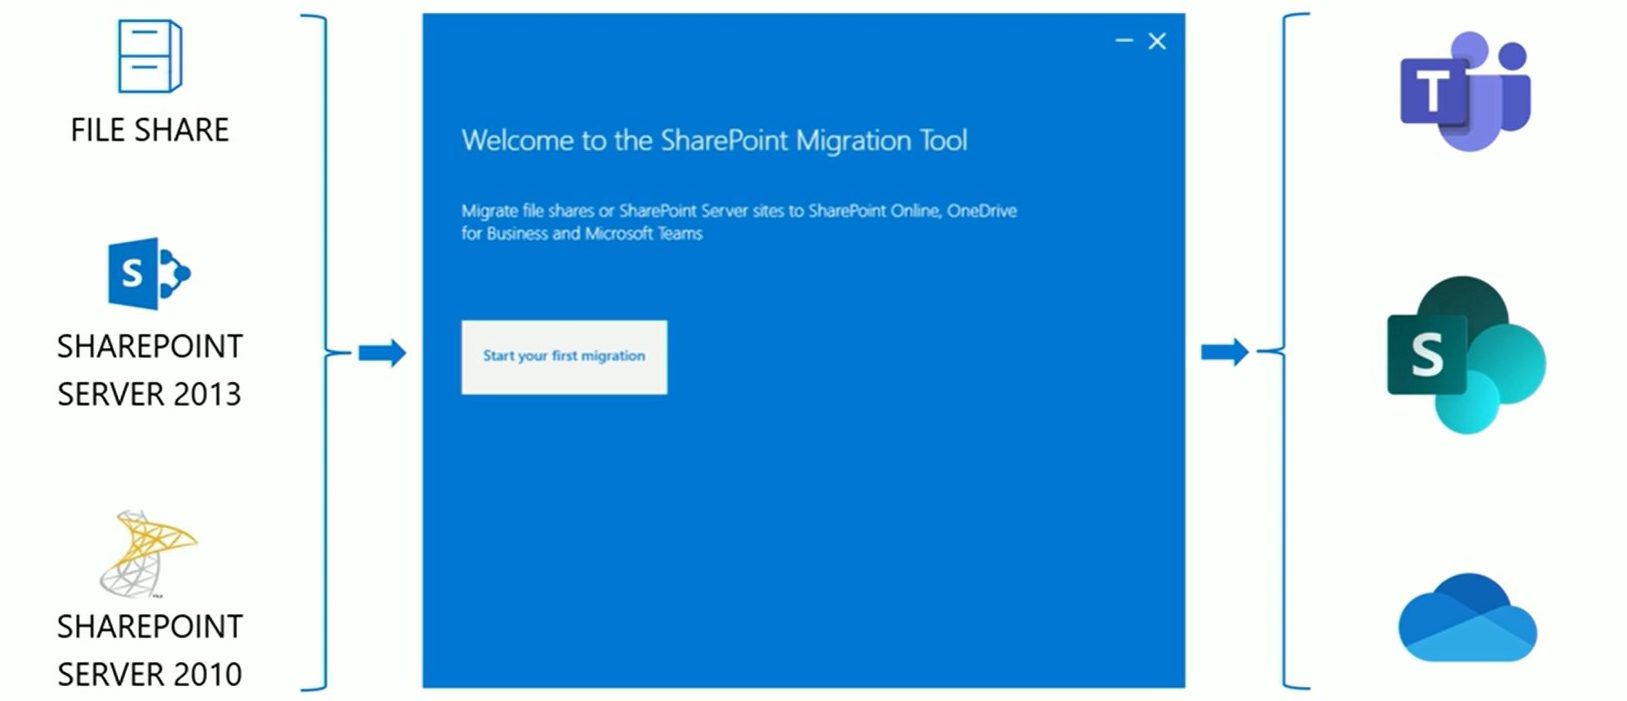
The SharePoint Migration Tool (SPMT) is a free tool provided by Microsoft that allows organizations to easily migrate their files, folders, and other content from various sources, including on-premises file servers and other cloud services, to SharePoint Online or OneDrive for Business.
Here are some steps to follow when using the SharePoint Migration Tool:
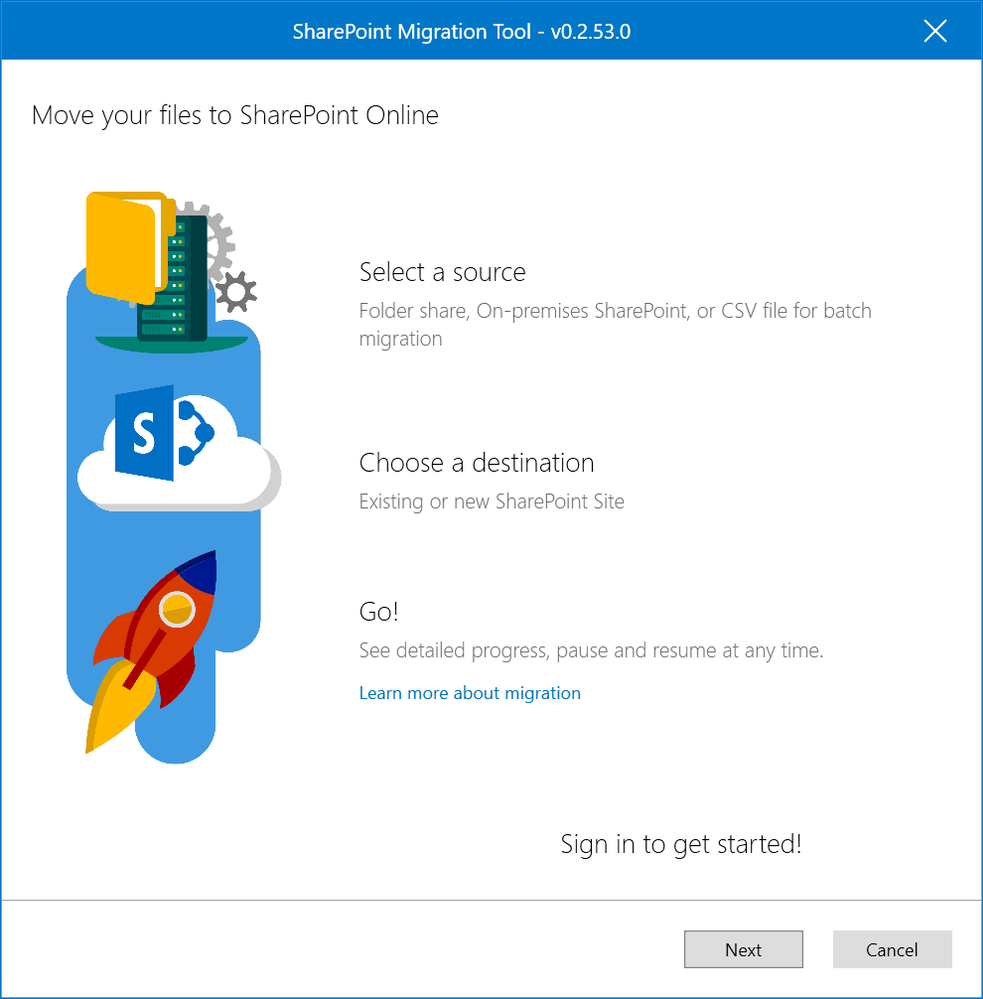
- Download and install the tool: The first step is to download and install the SharePoint Migration Tool on your computer. You can find the tool on the Microsoft Download Center.
- Create a migration batch: A migration batch is a collection of items that you want to migrate together. To create a new migration batch, open the SharePoint Migration Tool, select “New batch,” and give the batch a name.

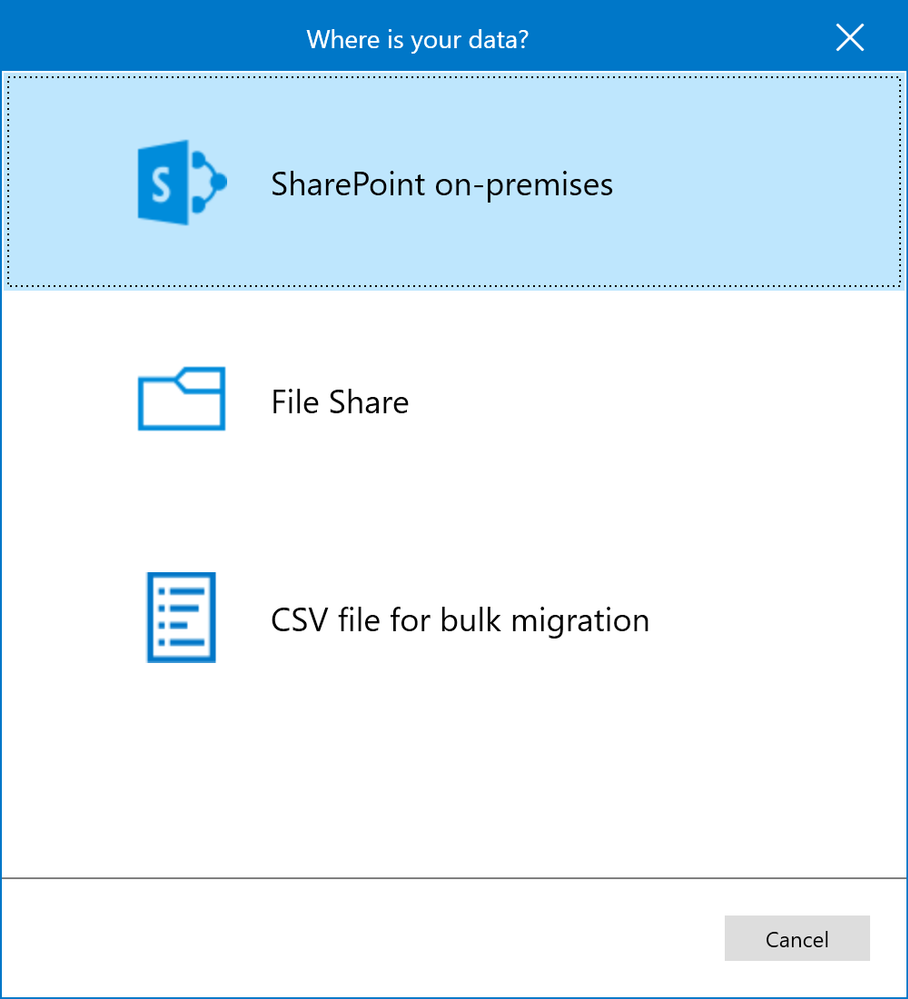
- Add your files and folders: Once you have created a migration batch, you can start adding your files and folders to it. To do this, click “Add” and select the files and folders you want to migrate. You can also use the “Add from file” option to import a list of files and folders from a CSV file.
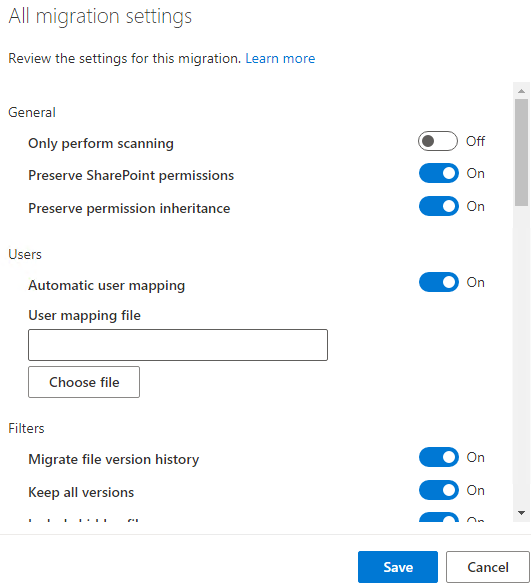
- Configure your migration settings: Before you start the migration, you will need to configure your migration settings. This includes choosing your target location (either SharePoint Online or OneDrive for Business), setting any advanced options (such as file versioning or metadata mapping), and specifying any custom permissions that you want to set.
- Start the migration: Once you have configured your migration settings, you can start the migration by clicking “Start.” The SharePoint Migration Tool will begin transferring your files and folders to your target location. You can monitor the progress of the migration in the tool’s dashboard.
- Test and verify: After the migration is complete, it’s important to test and verify that all of your files and folders have been transferred correctly and are accessible in your target location. This may involve checking individual files or groups of files, or running a comparison between the source and target locations.

Migrating files from an on-premises file server to SharePoint Online can be a complex process, but by following these steps and using the right tools, you can make the transition smoothly and effectively.
AccessOrange can Help
A Microsoft Partner like AccessOrange can also help you with the migration.
There are many benefits to having AccessOrange help with a SharePoint migration. Here are some of the key benefits:
- Expertise: Microsoft partners such as AccessOrange are trained and certified experts in SharePoint and other Microsoft technologies. This means that they have the knowledge and experience needed to help you plan and execute a successful SharePoint migration.
- Support: Working with a Microsoft Partner such as AccessOrange means that you have access to support and resources from Microsoft itself. This includes technical support, best practices guidance, and other resources that can help you get the most out of SharePoint.
- Cost savings: AccessOrange can help you save time and money by streamlining the migration process and identifying any potential issues before they become major problems. This can help you avoid costly mistakes and ensure that your migration is completed on time and on budget.
- Custom solutions: AccessORange can work with you to develop custom solutions that are tailored to your specific needs and requirements, such as MetaData migration or other complex migration scenario’s where standard tools are not sufficient. This can include custom integrations, custom applications, and other solutions that can help you get the most out of SharePoint.
- Ongoing support: AccessOrange can provide ongoing support and maintenance after your SharePoint migration is complete. This can include technical support, training, and other resources to help you get the most out of SharePoint in the long term.
Overall, working with AccessOrange can provide a range of benefits that can help you achieve a successful SharePoint migration. From expert guidance and support to cost savings and custom solutions, AccessOrange can be an invaluable resource for organizations looking to migrate to SharePoint.
For more information, contact us at [email protected] or chat with us on the website.
")


")

")

